Making Jams, Jellies, and Fruit Spreads
Types of Fruit Spreads
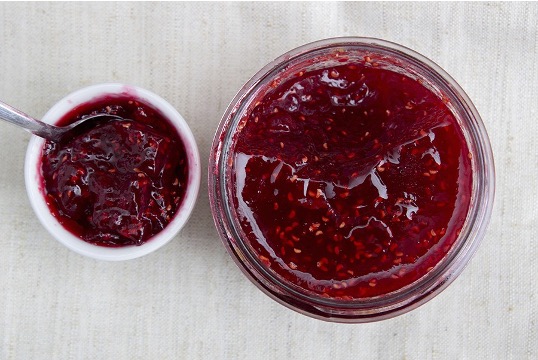
Jam is made from crushed, chopped, or ground fruit, and sugar. Jams can be made with or without added pectin. Jam holds its shape, but is less firm that jelly.
Jelly is made from fruit juice and sugar. Jelly is a semi-solid fruit spread that is clear and firm enough to hold its shape. Jellies can be made with or without added pectin.
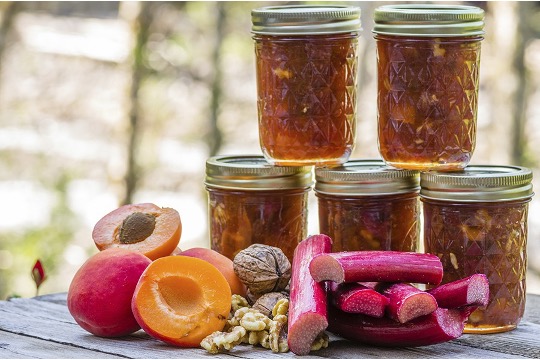
Conserves are similar to jams because they are made from a mixture of fruits, but they also contain nuts, raisins, and/or coconut. Conserves are made with sugar and can be made with or without added pectin.
Preserves are characterized by the thick or slightly jelled syrup, in which small, whole fruits or small, evenly-sized pieces of fruit are suspended. Preserves are made with sugar and can be made with or without added pectin.
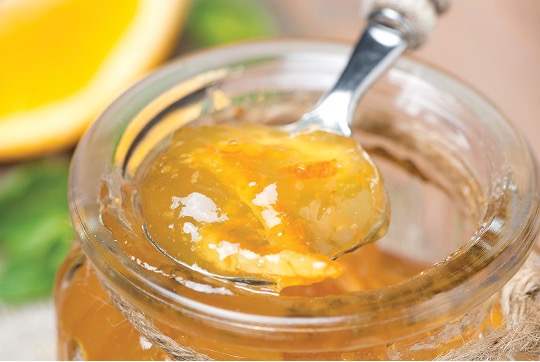
Marmalades are soft jellies with small pieces of fruit or peel evenly suspended in the clear jelly. Marmalades are usually made from citrus fruits and/or peels. Marmalades are made with sugar and can be made with or without added pectin.
Fruit butters are made from sweetened fruit pulp cooked with sugar and spices until thickened to a spreadable consistency. Butters can be made with or without added pectin.
Ingredients
For a successful fruit spread, there are four crucial ingredients needed in proper proportions to form a gel: fruit, pectin, acid, and sugar.
Fruit gives a spread its unique flavor and texture. It also contains part of the pectin and acid needed to form a gel. The fruit also provides the liquid needed to dissolve the other ingredients. For the best quality jelled products, use good-quality, flavorful fruits.
Pectin is a natural substance found in fruit. It forms a gel when present in adequate amounts with the correct proportions of acid and sugar. All fruits contain some pectin. Under-ripe fruits contain more pectin than fully ripe fruits. When fruits with low pectin are preserved, they should be combined with fruits high in pectin or with commercial pectin.
Table 1. Pectin Content in Fruits
Fruits High in Pectin
- Apples
- Concord grapes
- Crab apples
- Cranberries
- Currants
- Gooseberries
- Raspberries
- Sour blackberries
- Sour plums
Fruits Low in Pectin
- Apricots
- Blueberries
- Peaches
- Pineapple
- Rhubarb
- Strawberries
- Sweet cherries
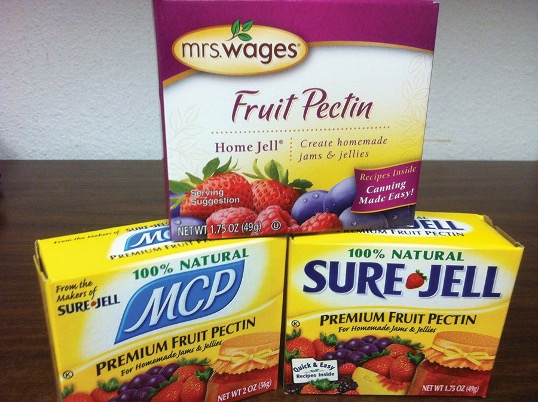
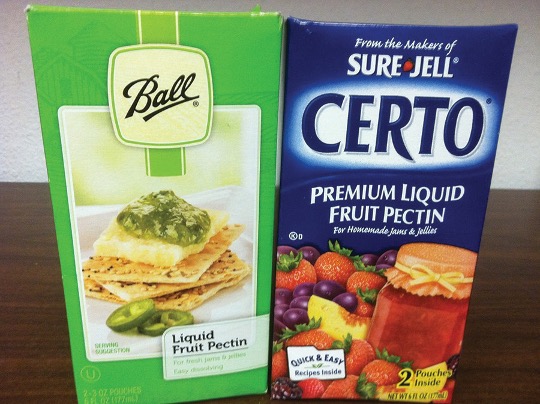
Commercial pectin can be used with any fruit spread. Using commercial pectin shortens cooking time and allows the use of fully ripe fruits. Commercial pectin comes in both powdered and liquid forms, but recipes cannot be used interchangeably between the types. Liquid pectin is added to hot fruit and sugar (or sugar substitute) mixtures, and then boiled. Powdered pectin is added to unheated fruit or juice, boiled, and then sugar (or sugar substitute) is added after the pectin is dissolved. When using powdered or liquid pectin, follow a recipe developed specifically for the type of pectin being used.
Acid is needed in fruit spreads for flavor and gel formation. Fruits contain natural acid, though acid content varies in different fruits. When fruits are low in acid, lemon juice is added to the recipe. Too little acid and the product may not gel. Too much acid and the gel may weep. Commercial pectin contains powdered acid to make sure jelling occurs.
Sugar aids gel formation, acts as a preserving agent, and contributes to flavor. The correct proportion of sugar must be present with the acid and pectin to form the gel. Since sugar is the preservative for fruit spreads, it prevents the growth of microorganisms. Cane and beet sugars are most commonly used. Do not reduce the amount of sugar in a recipe unless you are using a low sugar pectin product.
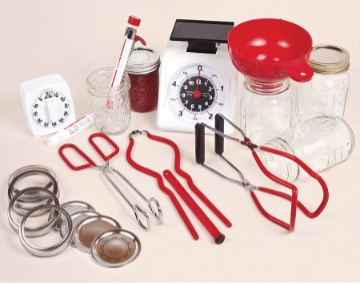
Equipment
The equipment necessary for preparing fruit spreads is:
- 8-10 quart kettle with flat bottom
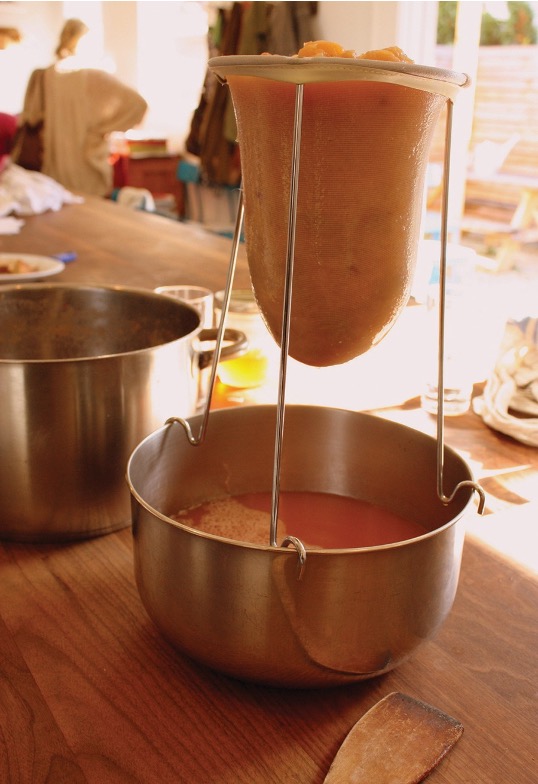
- Jelly bag and jelly bag stand (if making jelly)
- Wet and dry measuring cups
- Paring knives
- Potato masher
- Bowls (optional)
- Colander
- Long-handled spoon
- Ladle
- Small dish (optional) and metal spoon (for skimming foam off cooked product)
- Timer
- Scale (optional)
- Jelly or candy thermometer (optional)
- Oven mitts
- Cutting board
For processing the fruit spread in a water bath canner, the necessary equipment is:
- Half-pint or pint jars with two-piece lids and rings
- Boiling water canner (or a large kettle that can fit the jars plus 1-inch of water over the top of the jars)
- Jar rack
- Jar lifter
- Funnel
- Bubble freer or spatula
- Headspace measurer
- Clean paper towels
- Rack or towel to set jars on to cool
Reducing Sugars & Using Artificial Sweeteners
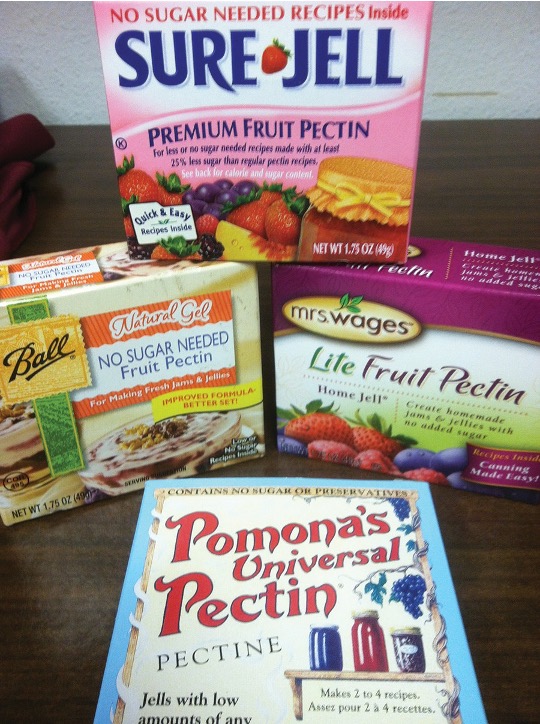
Special pectin is available for making low and no-sugar spreads. The amount of sugar should not be altered from traditional recipes using liquid or powdered commercial pectin. If you choose to make a low or no-sugar spread, you will need to find a recipe that uses no or low-sugar pectin.
Corn syrup and honey may be used to replace part of the sugar in recipes. Too much corn syrup or honey will alter the gel and mask the fruit flavor. When replacing sugar with corn syrup or honey, use tested recipes. Do not reduce the amount of sugar in a traditional recipe.
Recipes using artificial sweeteners and no or low-sugar can be found in the USDA Complete Guide to Home Canning, as well as with the no or low-sugar pectin products. For additional information on making low or no-sugar fruit spreads, contact your local Extension office.
Methods for Making Fruit Spreads
There are two basic methods for making fruit spreads: without added pectin and with added pectin. The standard method (without added pectin) works best with fruits that are high in pectin. Using a commercial pectin speeds up the process. For uniformly jelled products, be sure the amount of pectin you add matches the specific fruit, as instructed on the pectin package or approved recipe.
With either method, make only one batch at a time. Increasing quantities often results in soft gels. Overcooking may break down the pectin and prevent jelling, so stir constantly. Recipes are developed for specific jar sizes, so process in the jar specified by the recipe. For access to approved recipes, contact your local Extension office or visit the National Center for Home Food Preservation website.
Testing for Doneness in No-Pectin Added, Long-Cook, Jelled Products
The challenge with making fruit spreads without added pectin is knowing when the product is done. There are three methods for testing doneness of fruit spreads: temperature test, sheet or spoon test, and refrigerator or freezer test.
Temperature Test
Boil the mixture until it reaches the appropriate temperature for your given altitude, as tested using a jelly or candy thermometer. This is the most reliable method to test for doneness of your jelled product.
| Altitude | Sea Level | 1,000 ft | 2,000 ft | 3,000 ft | 4,000 ft | 5,000 ft | 6,000 ft | 7,000 ft | 8,000 ft |
| Temperature Needed | 220°F | 218°F | 216°F | 214°F | 212°F | 211°F | 209°F | 207°F | 205°F |
Sheet or Spoon Test
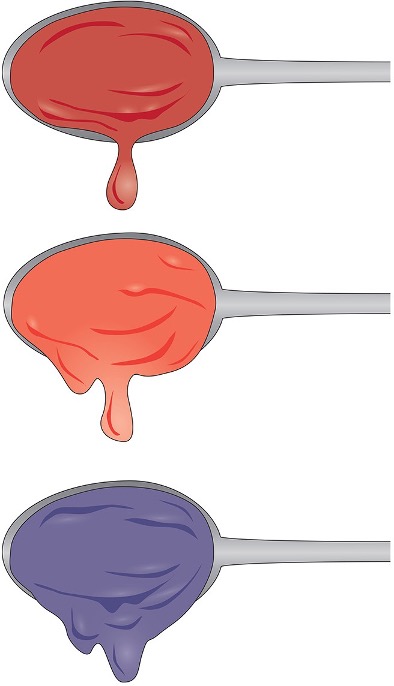
To perform this test, dip a cool metal spoon into the boiling mixture and raise the spoon out of the steam (about 12 inches). Turn the spoon so the liquid drips off the side. The product is done when it forms two drops that flow together and “sheets” or hangs off the edge of the spoon.
Refrigerator or Freezer Test
For this test, remove the mixture from the heat and pour a small amount on a cold plate. Place that plate in the freezer for a few minutes. If the mixture jells, it is ready to be filled into the jars.
Processing in a Boiling Water Bath Canner
- Wash canning jars, lids, and rings in hot water with detergent and rinse well, or wash in a dishwasher. If recipe calls for pre-sterilizing jars, pre-sterilize clean jars by submerging in boiling water for 10 minutes (can be done in canner). If not pre-sterilizing, jars can be kept warm in the canner, too. To do so, fill canner with enough water to fill the jars and cover them with 1 to 2 inches more of water. Place jars on rack in the canner. Either heat water to boiling for pre-sterilizing jars or heat to simmering (about 180°F). Jars can remain in the hot water until they are ready to be filled.
- Prepare the two-piece canning lids according to the manufacturer’s recommendations (older lids need to be simmered to activate the sealing compound, this is not necessary with newer lids).
- Prepare the fruit spread following instructions on an approved recipe.
- Using a jar lifter, remove jars from hot water one at a time, tilting jars to dump water back into the canner. Fill jars quickly with hot fruit spread mixture, leaving ¼ inch headspace. (Headspace is the distance between the bottom of the lid and the product in the jar.) Remove bubbles and adjust headspace, if needed. Thoroughly wipe jar rim and threads with a clean, damp paper towel. Cover jar with lid and ring, tighten ring to “fingertip tight.” (Work quickly to ensure jars and fruit product stay as hot as possible, but take precautions not to burn yourself.)
- Load the filled jars into the canner one at time, using a jar lifter and making sure to keep the jar upright at all times to prevent spilling.
- If the water does not reach 1 to 2 inches above the jars, add more boiling water to the canner. Turn heat to the highest setting, cover the canner with the lid, and heat until the water boils vigorously. Once the water reaches a full rolling boil, start your timer for the time stated in the approved recipe. (If you are at an altitude of 1000 ft. or more, add 1 minute of processing time for each additional 1000 ft. of altitude.) Make sure the water in the canner remains boiling throughout the entire processing time.
- When processing time is complete, turn off the heat and remove the canner lid. Wait 5 minutes before removing jars. When removing jars from the canner, use a jar lifter and keep the jars upright. Place jars one-inch apart on rack or towels. Avoid placing on cold surface or in a cold draft. Do not retighten rings, and do not dump or wipe the water off the lids.
- Cool jars for 12 to 24 hours. Let the jars sit undisturbed while cooling.
- When jars are completely cool, check lids for seal. To check jars for seal, listen for the “popping” sound during cooling. Lids are sealed if they are curved downward in the center and do not move when pressed on. Another way to test for seal is by tapping the center of the lid with a spoon. Sealed lids produce a clear, ringing sound.
- Remove ring bands from sealed jars to prevent rusting, clean jars and lids, label, and store in a cool, dry place out of direct light.
- What if jars don’t seal? You have three choices:
- Put in the refrigerator and use immediately.
- Put in the freezer.
- Re-process within 24 hours. Remove the lid and check the jar sealing surface for tiny nicks. If necessary, change the jar, add a new treated lid, and reprocess using the original processing time.
- If jar(s) unseal after 24 hours, product must be thrown away.
Preventing Spoilage
Sugar helps prevent spoilage and preserves fruit spreads. If the processing time is less than 10 minutes, pre-sterilize jars, as outlined in step one above. Because of the potential for mold contamination, paraffin or wax seals are no longer recommended for fruit spreads.
Further Reading
Andress, E. 2012. Steps in Processing Jams and Jellies. National Center for Home Food Preservation.
OSU Master Food Preserver Program. 2008. Food Safety & Preservation: Making Jams, Jellies, and Fruit Spreads. Oregon State University Extension Publication SP 50-764. Oregon State University.
Powers-Hammond, L. and S. McCurdy. 2015. Fundamentals of Consumer Food Safety and Preservation: Master Handbook. Washington State University.
Reynolds, S. and P. Williams. 2014. So Easy to Preserve. 6th ed. Athens: Cooperative Extension Service, University of Georgia, College of Family and Consumer Sciences, College of Agricultural and Environmental Sciences.
UGA Extension. 2009. Making Jams and Jellies. United States Department of Agriculture Publications, National Center for Home Food Preservation. University of Georgia.
UGA Extension. 2015. USDA Complete Guide to Home Canning. United States Department of Agriculture Publications, National Center for Home Food Preservation. University of Georgia.
By
Kayla Wells-Moses, Extension Regional Specialist, Family and Consumer Sciences Educator, WSU Colville Reservation Extension

FS232E

Copyright © Washington State University
WSU Extension publications contain material written and produced for public distribution. Alternative text descriptions for select complex images were generated using ChatGPT (OpenAI, GPT-5.2), then reviewed and adapted to ensure compliance with Web Content Accessibility Guidelines (WCAG) 2.1, Level AA accessibility standards.
Issued by Washington State University Extension and the US Department of Agriculture in furtherance of the Acts of May 8 and June 30, 1914. Extension programs and policies are consistent with federal and state laws and regulations on nondiscrimination regarding race, sex, religion, age, color, creed, and national or ethnic origin; physical, mental, or sensory disability; marital status or sexual orientation; and status as a Vietnam-era or disabled veteran. Evidence of noncompliance may be reported through your local WSU Extension office. Trade names have been used to simplify information; no endorsement is intended.